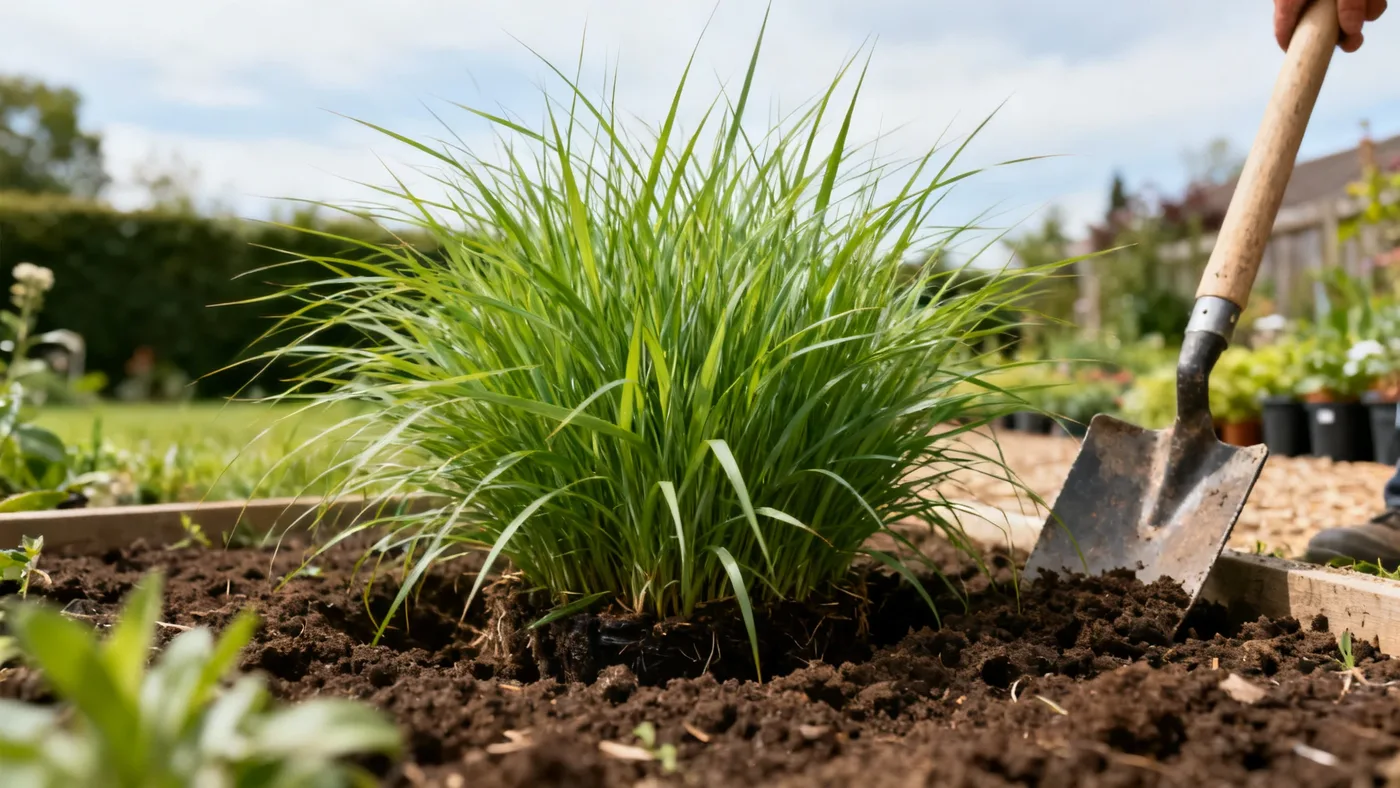
How to Plant Little Kitten Maiden Grass for Best Results
Little Kitten Maiden Grass is one of the easiest warm-season ornamental grasses to establish, and when you get the basics right, you're rewarded with a dense, refined mound of fine-textured foliage and coppery-pink plumes in late summer. This dwarf cultivar fits into small spaces, borders, rock gardens, and containers where standard Miscanthus would overwhelm. The hardest part isn't the planting itself, it's waiting for it to mature.
When to Plant Little Kitten Maiden Grass
Spring is your best window. Plant in mid to late spring once the soil warms and the risk of hard frost has passed in your region. In USDA zones 5 through 9, this typically means April through June, depending on your local climate. The grass needs several weeks of warm growing weather to anchor its roots before winter.
Fall planting is possible in milder zones (8 and 9) if you plant early enough, roughly August through September. The plant needs at least 8 to 10 weeks to establish before the first frost. If you're in zones 5 through 7, skip fall planting. The young clump won't develop enough root depth to survive winter dormancy.
Avoid planting Little Kitten Maiden Grass in the dead heat of midsummer. The plant's top growth will race, but the roots won't have time to catch up, leaving you with stressed foliage and shallow root systems.
Site Selection and Soil Preparation
Little Kitten Maiden Grass performs best in full sun. It adapts to part sun, but the foliage will be less dense and the flower plumes fewer. Choose a location that gets at least 6 hours of direct sunlight each day, ideally 8 or more.
Soil doesn't need to be rich. This grass thrives in average, well-drained soil with a pH between 6.0 and 7.5. It adapts to many soil types, including clay, as long as drainage is adequate. Waterlogged soil is the real enemy. If your site stays soggy after heavy rain, either choose a different spot or add raised topsoil to improve drainage before planting.
Four to six weeks before planting, work the top 8 to 10 inches of soil. Break up compacted earth with a spade. Mix in 1 to 2 inches of compost or aged bark to improve structure and water infiltration. If you're planting in poor or clay-heavy soil, incorporate compost more generously. The goal is soil that holds enough moisture to keep young roots from drying out, but drains freely so roots aren't sitting in water.
Do not add heavy fertilizer to the planting hole. A light feeding is all this plant needs, and excessive nutrients cause floppy, weak growth.
Materials You'll Need
- Little Kitten Maiden Grass plant (nursery-grown, typically in a quart or #1 container)
- Compost or aged bark mulch
- Garden soil or topsoil
- Sharp spade or shovel
- Garden fork or cultivator
- Watering can or garden hose
- Mulch material (bark chips or shredded leaves, 1 to 2 inches)
- Balanced, slow-release fertilizer (optional, for light feeding after establishment)
Planting Little Kitten Miscanthus: Step-by-Step
Step 1: Dig the Planting Hole
Dig a hole as deep as the plant's container and twice as wide. If the root ball is 6 inches wide, your hole should be roughly 6 inches deep and 12 inches across. A wider hole helps roots spread outward into loosened soil. Don't dig deeper, as the crown (where the shoot meets the roots) should be level with the surrounding grade when planted.
Step 2: Loosen the Root Ball
Gently remove the plant from its container. If the roots are circling tightly, use your fingers or a small fork to tease them apart. Loosen the outer inch of the root ball without tearing thick roots. This encourages roots to grow outward into the surrounding soil instead of staying bound in a tight mass.
Step 3: Position the Plant
Set the grass in the planting hole so the top of the root ball aligns with ground level. Backfill with your amended soil mixture, gently firming as you go. Avoid compacting hard. Leave a small depression around the plant to catch and hold water.
Step 4: Water Thoroughly
Water deeply right after planting. Soak the soil until it's moist 4 to 6 inches down. This settles the soil around roots and removes air pockets. Don't create a soggy mess, just thorough, even moisture.
Step 5: Apply Mulch
Spread 1 to 2 inches of bark chips, shredded leaves, or other organic mulch around the plant, staying 2 to 3 inches away from the crown itself. Mulch moderates soil temperature, retains moisture, and suppresses weeds. Too much mulch piled against the crown invites rot and pest issues.
Step 6: Spacing for Groupings
If planting multiple Little Kitten Maiden Grass plants for a border or massed display, space them 12 to 18 inches apart. This allows each clump room to develop its full rounded form. At 12-inch spacing, plants will nearly touch at maturity and create a solid, unified look. At 18-inch spacing, individual mounds remain more distinct.
Tips for Strong Root Establishment
Water regularly for the first 4 to 6 weeks after planting. Keep soil consistently moist but not waterlogged. Depending on spring rainfall and heat, this may mean watering twice weekly. Once the plant has been in the ground for about a month and shows new shoot growth, begin tapering frequency. By midsummer, established plants need water only during extended dry spells of more than two weeks without rain.
Avoid fertilizing at planting time. Wait until the plant has been established for at least 8 weeks. When you do feed, use a balanced or slow-release fertilizer in early spring of the following year. One light application per year is plenty. More feed causes rank, floppy growth that needs staking.
Do not prune or deadhead the plant in its first year. Let it put all its energy toward root development and establishing a sturdy crown. The slight flower production in year one is fine to leave as is.
Common Mistakes to Avoid
Planting Too Deep
The crown should be level with the ground, not buried. Planting too deep slows establishment and invites rot. If in doubt, plant slightly high rather than deep.
Overwatering in Fall and Winter
Once the plant goes dormant in late fall, stop supplemental watering unless it's a severe drought. Wet, dormant soil can rot the crown over winter.
Choosing a Shaded Spot
This grass wants sun. In heavy shade, it becomes sparse, weak, and may fail to bloom. If shade is all you have, plant something else.
Planting in Soggy, Poorly Drained Soil
Water standing around the roots for days leads to crown rot. Fix drainage before planting, or choose a different location.
Skipping Site Prep
Loose, amended soil makes a huge difference in root establishment. It takes time, but it's worth it.
What to Expect in Your First Two Years
In spring of year one, the plant emerges slowly. Warm-season grasses don't hurry in spring like cool-season types do. You may see minimal foliage for the first 3 to 4 weeks, then growth accelerates as soil warms. By midsummer, a healthy new planting builds a mound 6 to 10 inches tall.
Flowers appear in year one, though they're often modest. Coppery-pink to reddish plumes emerge in late August or September, depending on your region. These age to creamy tan or silver over a few weeks. Don't expect the full, abundant plume production you'll see in year two and beyond.
By the end of year one, the clump is 10 to 14 inches tall and wide. In year two and three, the plant reaches its mature size of 12 to 18 inches in height and width, with plumes pushing to 20 to 24 inches in late summer and fall. A well-established clump flowers reliably and more profusely each year.
The foliage color shifts in fall. Fine green blades turn tan and golden as the plant prepares for dormancy. By November or December, depending on your zone, the above-ground growth dries completely. This dried foliage persists through winter, providing structure and interest in the garden. Leave it standing until late winter or early spring, then cut it back to a few inches above the crown before new growth breaks.
For complete care guidance after your plants are established, see our Little Kitten Maiden Grass care guide.
Quick Reference Planting Checklist
| Task | Timing | Notes |
|---|---|---|
| Choose site | Before spring planting | Full sun to part sun; minimum 6 hours direct light |
| Prepare soil | 4-6 weeks before planting | Loosen top 8-10 inches; mix in 1-2 inches compost; ensure drainage |
| Plant | Mid-spring to early June (zones 5-7); spring or early fall (zones 8-9) | 12-18 inch spacing between plants; crown level with soil surface |
| Water initial | Immediately after planting | Soak soil 4-6 inches deep |
| Apply mulch | Right after planting | 1-2 inches bark or leaves; keep 2-3 inches clear of crown |
| Water regularly | First 4-6 weeks | Keep soil moist; twice weekly if no rain |
| Fertilize | After 8 weeks; then annually in early spring | Light feeding only; slow-release or balanced formula |
| First dormancy | Late fall, year one | Stop watering; foliage dries to tan color |
| Spring cutback | Late winter/early spring, year two | Cut dried foliage to a few inches above crown |
| Expect maturity | Year 2-3 | Full clump size 12-18 inches; reliable flowering |